Beyond Sandblasting: Crafting Dimensional Signage with Precision
Recently, we finished and installed a new sign for the New Hanover County Landfill. This sign is made of HDU (a very dense and durable closed-cell foam) and is custom routed on our Colex CNC router, giving it 3d letters and borders. This blog is paired with a video depicting the entire project process, from design to installation.
First, some history: Before the advent of CNC technology, this style of sign was referred to as a sandblasted sign, for the process used to make them. The signs were specifically made from redwood, as it weathers superiorly, giving a desirable wood texture once blasted. However now, with over ¾ of the remaining redwood forests protected, it is scarce. The new choice wood for sandblasting is cedar, but it’s still very expensive. This price tag, combined with the mess associated with sandblasting, led us to switch to machining HDU with our precision CNC router to achieve a similar aesthetic result on an even more durable product.
Computer work:
All of our signs are first set up in Adobe Illustrator. Here, the layout of the letters and border are determined. Since this sign will be machined rather than printed, digital coloring is not necessary.
Once the layout for a machined sign is finished, the file is put into another program, Vcarve Pro. Here, the exact path of the drill bit that will cut the sign is set up. Vcarve allows us to give the sign a 3rd dimension; in this case, the machine is programmed to carve a faux wood texture about 1/8th of an inch into the face. Other textures are available.
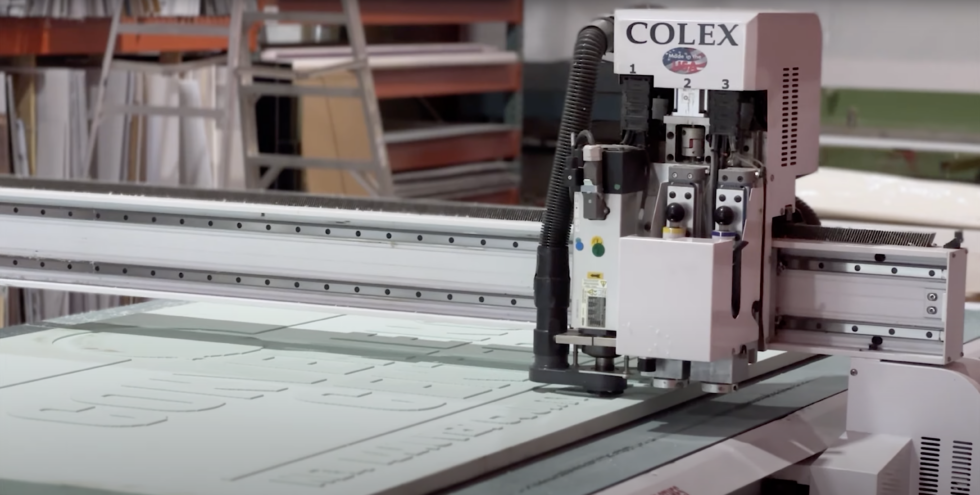
Colex CNC:
After the cut file is ready, a full slab of 4’ x 8’ or 5’ x 10’ HDU is aligned on the cut table and the proper drill bit is carefully installed. From here, the machine does all of the work. First, it will carve the wood texture into the sign. Afterwards, it will cut the sign away from the rest of the material.
Once the sign is cut, it’s time to paint it. First, we use an automotive-grade airbrush to evenly prime the sign and coat it in its primary color. Once that has dried, the additional colors are carefully applied with a roller.
With the sign face finished (and mounting structure fabricated and painted), the project is ready for installation. We now take the sign to the location, assemble it, drive it into the ground, and touch up the exposed screws with a Q-tip.
Once everything’s done, the result is an easily readable, durable sign. These signs are at their best at sites that only see daytime use or have exterior uplighting. They perform well in places that will require them to weather a lot of elements. As an added bonus, unlike their wooden predecessors, they will not rot (or be eaten) with age.
Considering one? Give us a call at (910) 294-9402 or Request a Quote. You can count on our team to create a product that makes us as proud of your business branding as you are.